Hey there! Well now that you know about mold sand casting. Today we are sharing a fun art project along with a tutorial for sand casting with sand casting sands. Prepare to be creative and to learn with sand casting molds. Read on and learn how to make your casting projects look brilliant!
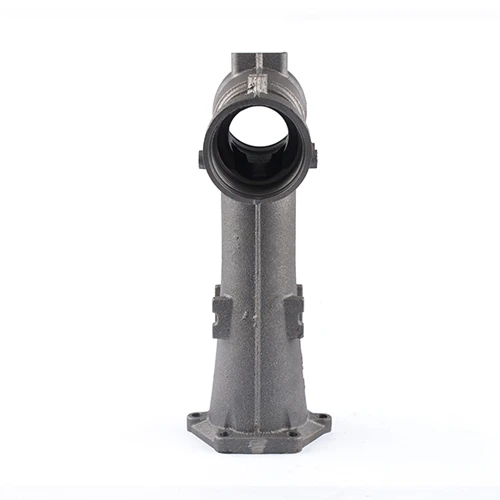
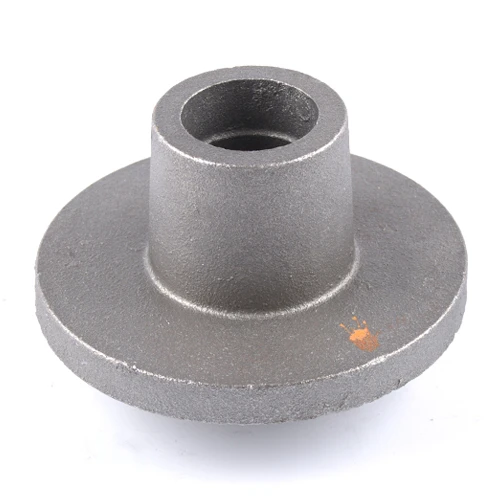
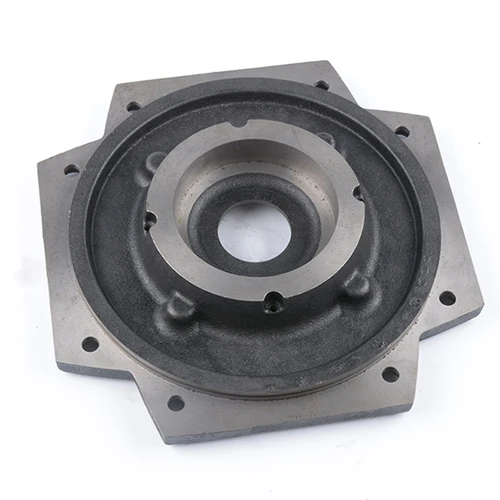
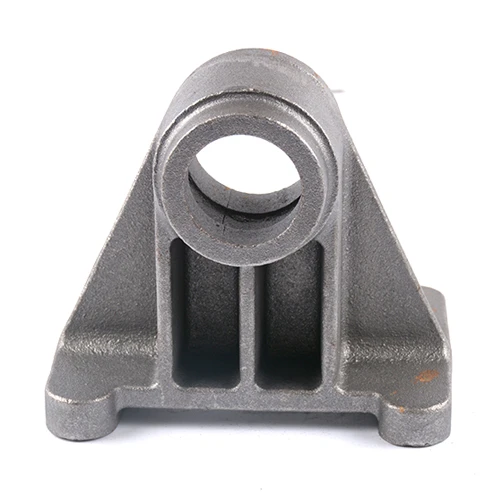
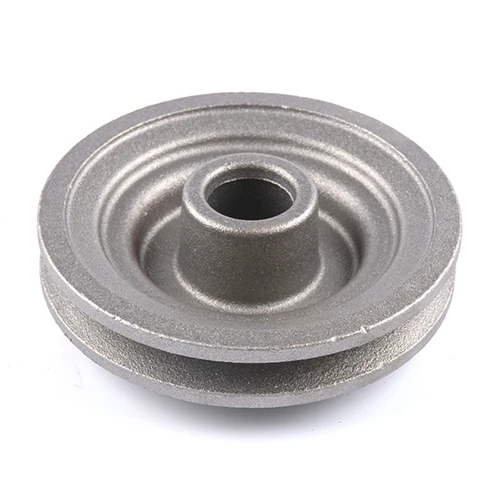
Nothing could be easier using a sand casting mold to make wonderful detailed designs to show off to your friends and family. The process is straightforward: You surround a shape — or “pattern” — with sand to form a mold. Then you pour hot metal into the mould to form the final product. The best part about sand casting molds is that you can make all sorts of shapes and designs that you cannot make using other methods. You can do a ton of fun things with sand casting molds – so really get creative!
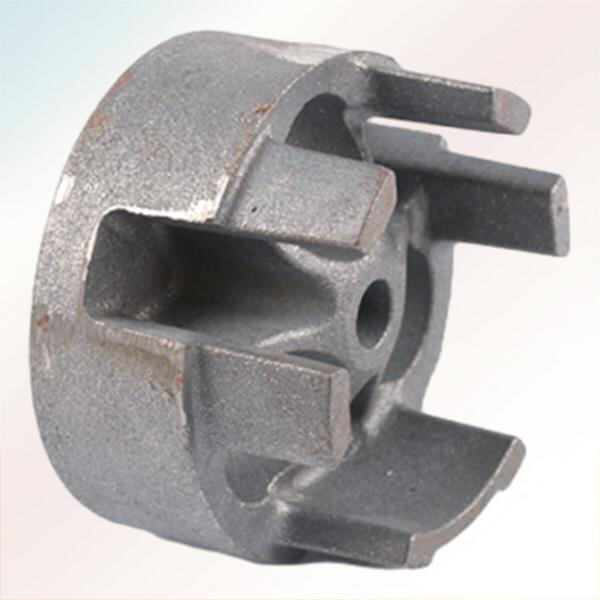
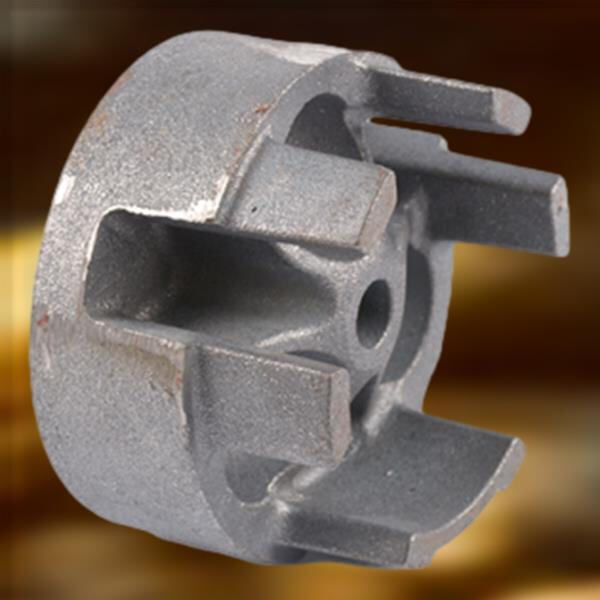
There are so many fun things you can do with iron sand castings to get unique results. For instance, various types of sand can be used to make your piece have a textured feel and look in a variety of ways. You can also experiment with patterns and shapes to create unique designs that will set you apart from others. And most importantly, just be creative and not afraid to think outside the box! The only limits can fit into your mind are the sand casting molds for what you can learn, so try now and imagine what incredible things you can do!

In order to achieve the best possible results in your sand casting molds, ensure a proper design of your mold and stay updating with the new and best moulding techniques. Be sure to tamp the sand around the pattern tightly for a sound mold. Also take careful preparation of your hot metal so it fills the mold nicely and you end up with a nice final product. If you add in some attention to detail and a bit of time, you can really make a statement.
How to Make a Simple Sand Cast Bronze Sculpture: 11 Steps Step 1: get your sand preparedAndGet your sand nice and clean and ready to go to fill the mold tightly.
Your prepared sand mold is crucial to a successful casting project. Before you begin to pack sand around your pattern, you’ll need “clean sand,” sand that’s free of any dirt or debris that could ruin the mold. Then place the sand around the pattern, pressing it in firmly to make a sturdy mold. If you take the time to follow the steps below, your sand mold should turn out great the first time.
More than 100 customers have been served by us, with fast, accurate and effective solutions. We can meet a wide range of customer requirements including full customization or design-based customization. Our expertise and experience ensure that every project we create is in line with the requirements of the sand casting mold.
We have automated production lines CNC machining centers and surface treatment workshops that work together to provide technical assistance for mass production We have the manufacturing sand casting mold to accommodate the demands of any size and still maintain production standards
Our customer sand casting mold department is always available making sure that questions are addressed within a matter of hours quotations are given within six hours and customized solutions can be delivered within 12 hours No matter when or where our customers call us we can promptly respond and offer professional assistance making sure their needs are satisfied in a timely manner
sand casting mold own our own manufacturing facility for casting, achieving the integration of production and trading. We can offer lower prices and higher quality than 90% of our competition. Through removing the middleman, we offer more competitive prices and superior quality products directly from factories for our customers.


 EN
EN
 CS
CS
 DA
DA
 NL
NL
 FI
FI
 FR
FR
 DE
DE
 EL
EL
 IT
IT
 JA
JA
 KO
KO
 PL
PL
 PT
PT
 RU
RU
 ES
ES
 TL
TL
 ET
ET
 TH
TH
 MS
MS
 BG
BG