It is a fun and exciting project for kids to do; this is a unique way to create impressive castings. Below is a lesson describing how to make a sand casting mold step by step.
The first thing to do is work all of the stuff we're going to need for this thing. You will need some sand and water, a container for the sand, something to make a pattern and some hot metal to pour into the mold. When you have all of your supplies, we can begin making our sand casting mold!
Start off by picking a container that your sand fits into. Fill the container with sand and pour in some water so the sand sticks together. Combine the sand and the water until you have a uniform feel.
Next, you have to create a pattern for your mold. - you can use a toy car or a seashell. Create an impression in the sand to form a mold for the hot metal. And be sure to push down hard so the mold will be clear.
You'll also need to create a channel for the hot metal to flow down into the mold. Create a path in the sand with a stick or a straw down to the mold shape. This will assist the metal in filling the mold entirely.
Now it’s time to tamp in the sand with the shape of the mold. Use your hands or a tool to smooth the sand and pack it down gently. Pack the sand in tight so no air bubbles will form.
When the mold halves are paired up, it’s time to pour in the hot metal. Make sure you are wearing safety equipment and working with hot metal under the supervision of an adult. Pour the metal into the mold slowly from the car you created.
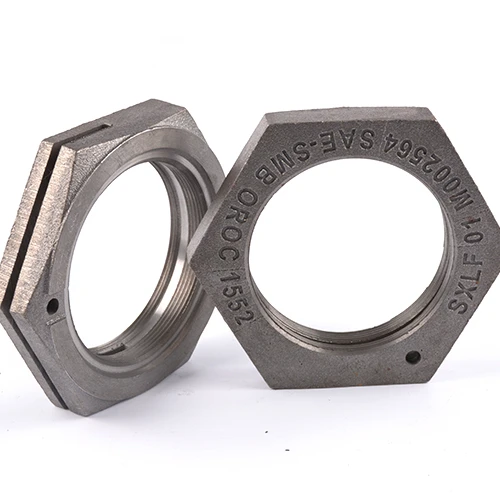
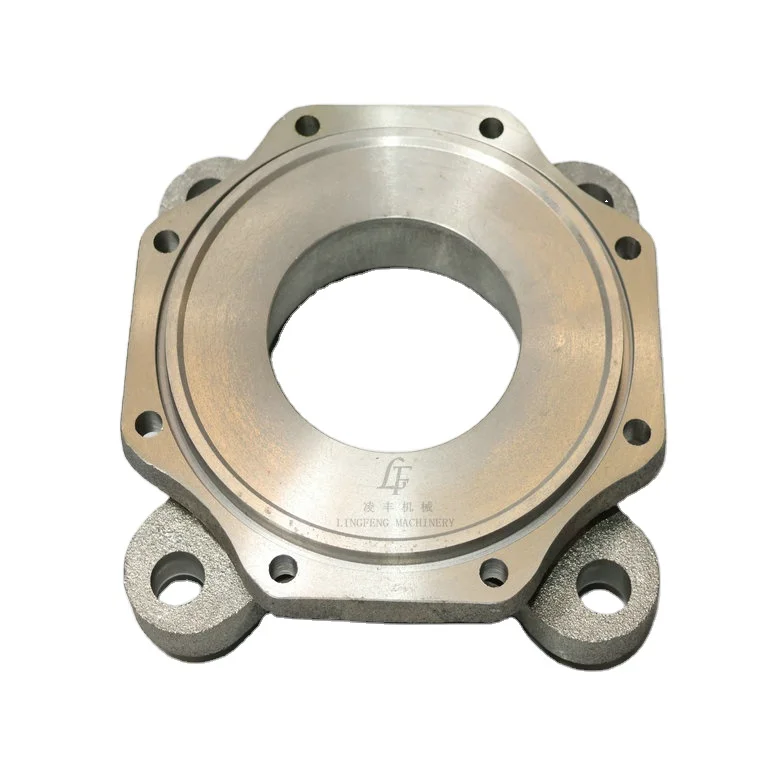
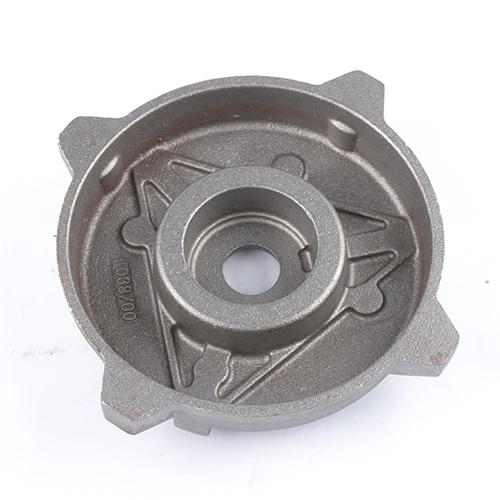
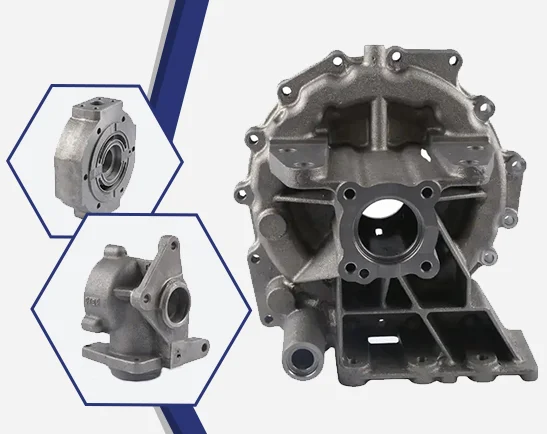
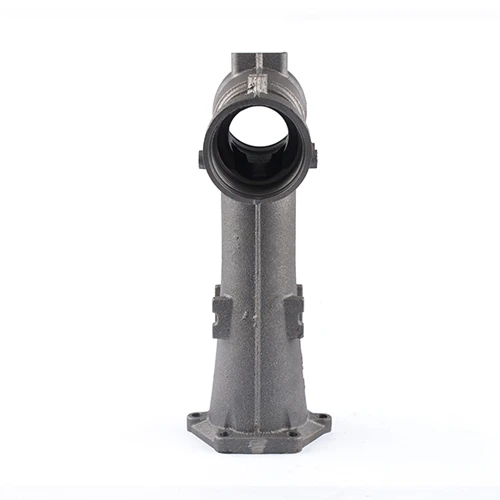
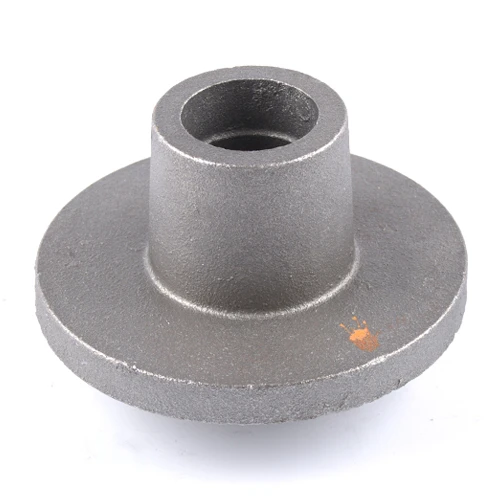
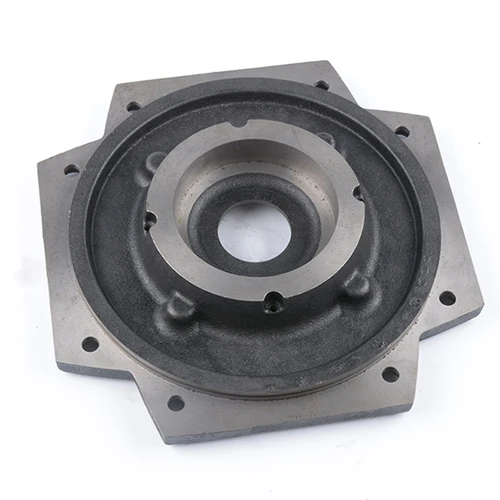
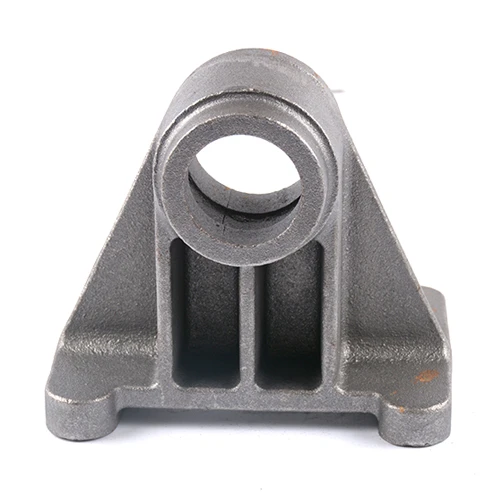
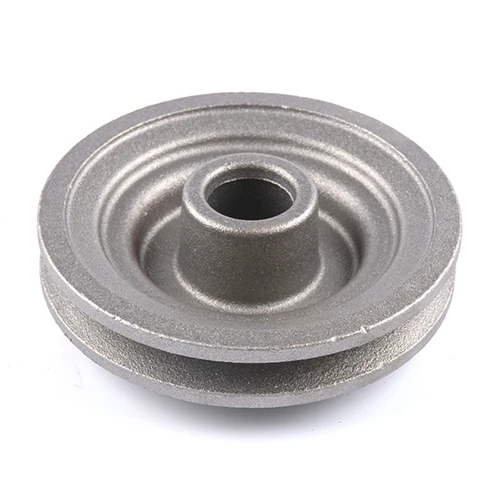
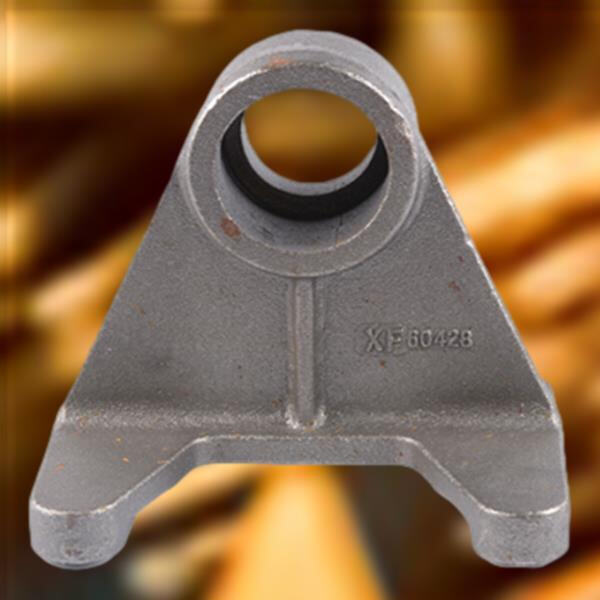
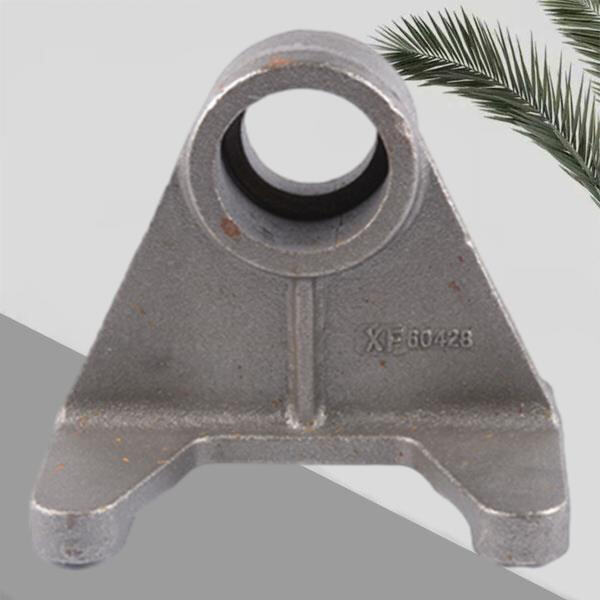
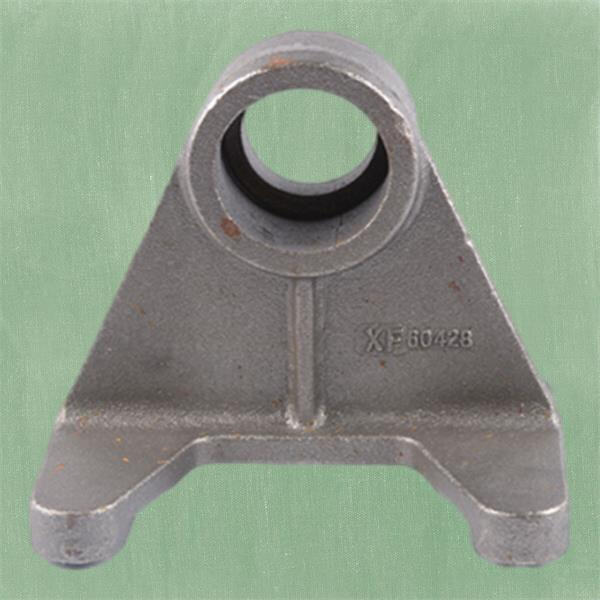
Our making a sand casting mold are automated CNC machining centers and surface treatment workshops which work together to provide technical support for mass production Our manufacturing capabilities allow us to manage orders ranging from small to large quantities while maintaining high-quality production standards and efficiencies
More than 100 customers have been served by us, with fast, accurate and effective solutions. We can meet a wide range of customer requirements including full customization or design-based customization. Our expertise and experience ensure that every project we create is in line with the requirements of the making a sand casting mold.
Our making a sand casting mold service department is available 24/7 assures that every inquiry is promptly answered and estimates are made within 6 hours and custom solutions are made available within 12 hours No matter when or where our customers reach out we can promptly respond and provide professional service ensuring their needs are met promptly
Our factory for casting is part of our company, which allows us to incorporate making a sand casting mold and commerce. We provide lower rates and superior quality than 90% of our competitors. Because we eliminate middlemen, we offer cheaper prices and superior quality products directly from our factory to our clients.


 EN
EN
 CS
CS
 DA
DA
 NL
NL
 FI
FI
 FR
FR
 DE
DE
 EL
EL
 IT
IT
 JA
JA
 KO
KO
 PL
PL
 PT
PT
 RU
RU
 ES
ES
 TL
TL
 ET
ET
 TH
TH
 MS
MS
 BG
BG